Setting up the Python Environment for Courses from DSPIllustrations.com
This page describes the steps necessary to setup the Python and Jupyter environment necessary to work with my courses. If you are familiar with Python, the following tl;dr might be enough:
tl;dr: Create a Python3 virtual environment and run
pip install requirements_ofdm.txtfrom thecodesubdirectory, followed byjupyter notebook.
Attention:
Below information is only kept for reference, but it might not be completely up to date anymore. For installation instructions, refer to the documention of your Python distribution, e.g. Anaconda in Windows. There, create a virtual environment and install the requirements from
requirements.txt, which is essentially justpip install matplotlib numpy scipy jupyter crc8 ipympl sounddevice. The latest versions have been tested with Python 3.13.
Here, we use the Anaconda Python Distribution due to its simplicity. However, if you prefer another distribution, the course will still work. But, in this case we assume you will be able to setup your environment on your own.
Please choose your operating system:
Setting up the Environment on Windows 10
Please note: With the recent Python 3.7 for Windows, Jupyter cells cannot be interrupted when running (see here and here). Therefore it is recommended to stick with Python 3.6 for now, see here on how to install an older version of Anaconda that contains Python 3.6 instead of 3.7.
We start by downloading the Anaconda Python Distribution. This course is tested with
Anaconda 5.2containing Python 3.6 64bit. Any 64bit Python above 3.3 will be fine running the course. After the file is downloaded, start the installation:

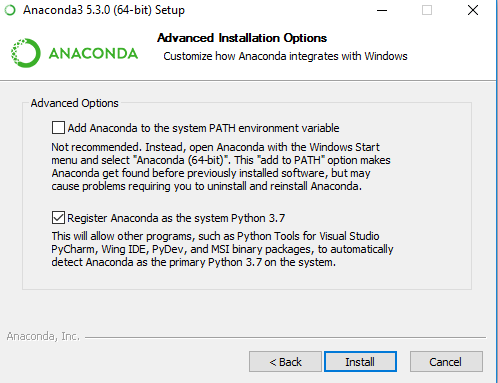
Answer yes to register Anaconda as the system Python installation:
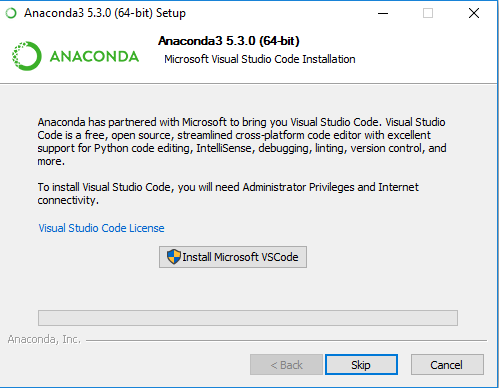
If the setup asks to install Visual Studio Code, you can safely skip this installation step, as we do not need the VS Code editor.
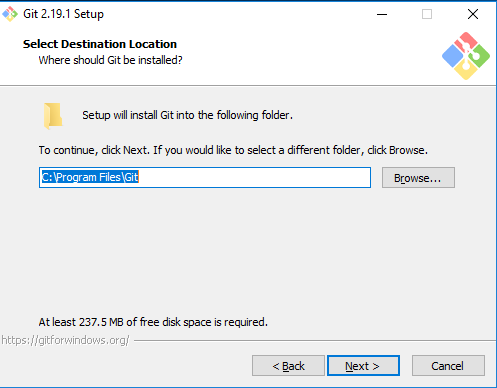
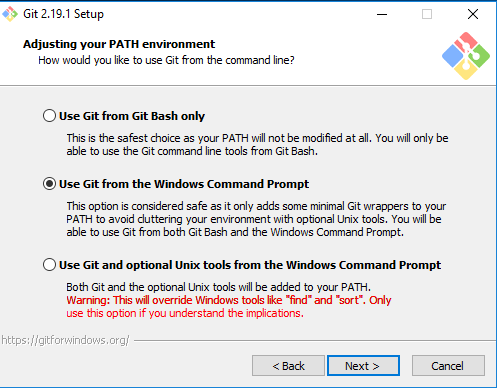
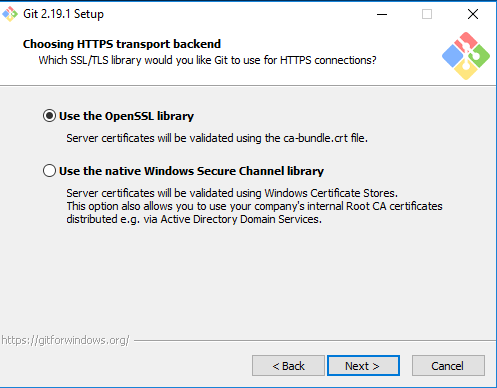
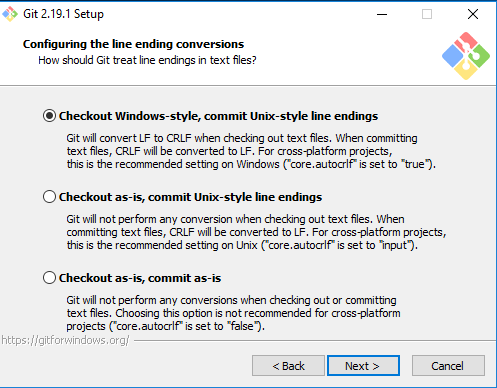
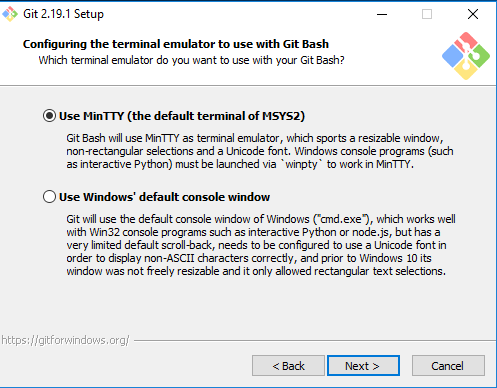
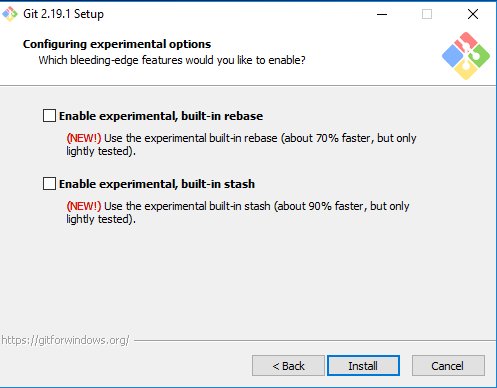
After Anaconda is installed, we are going to installgitwhich we need to download the tikzmagic extension. Go to the git homepage and download the installer. Then, start the installation:
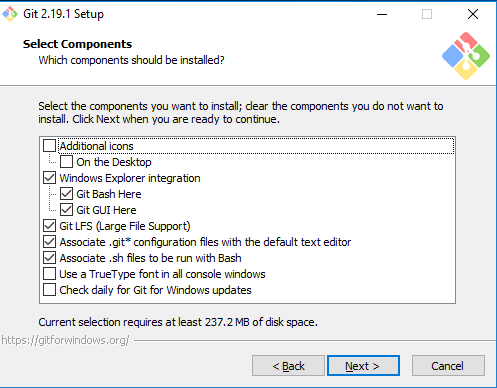
In the following screens, you can safely keep the defaults:


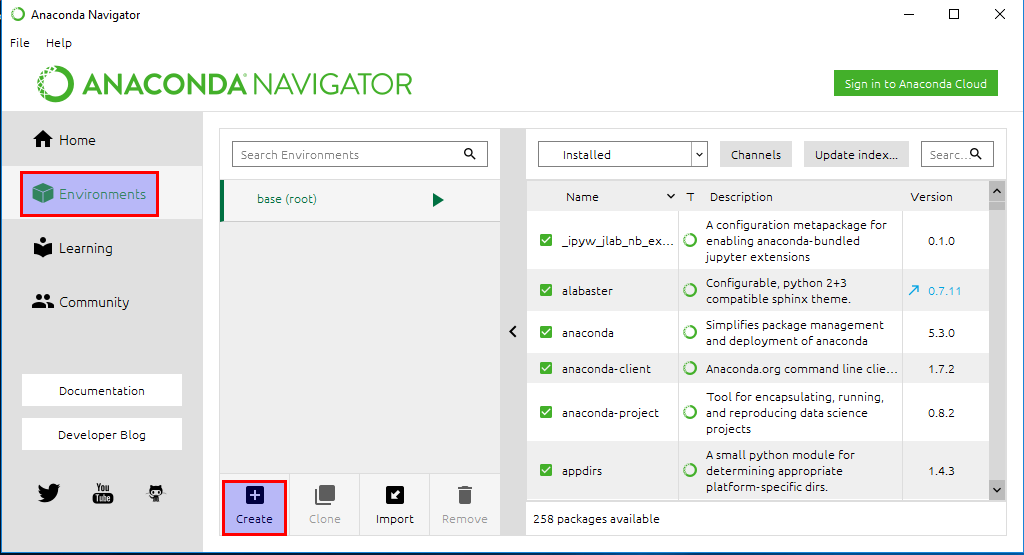
After installing git, we can now setup the Python Environment. Open the Windows Start menu and start thpAnaconda Navigator. In the Navigator click onEnvironmentson the left and chooseCreatein the bottom:
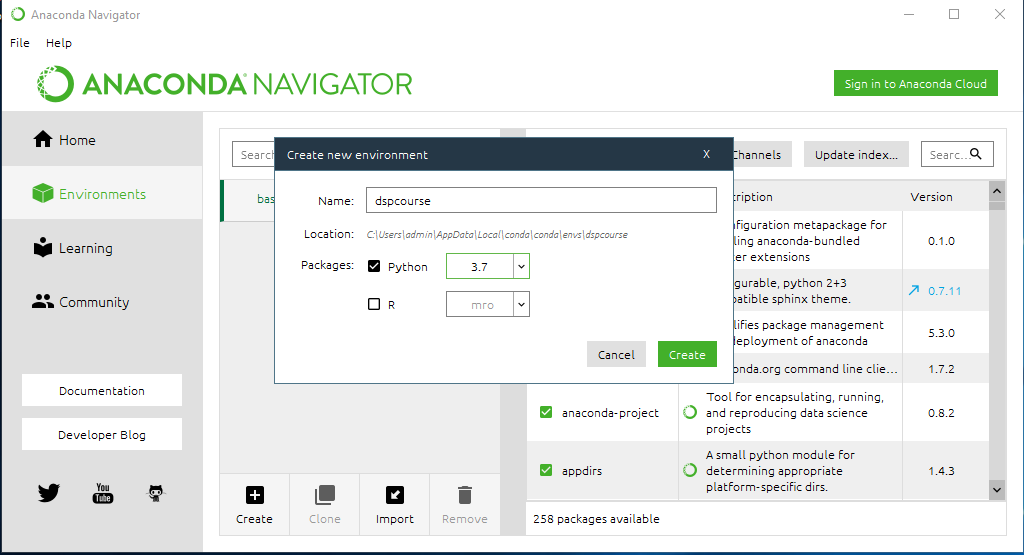
As the environment name we choosedspcourseand we clickCreatein the dialog:
After the environment is created, we will run a Terminal within the environment:
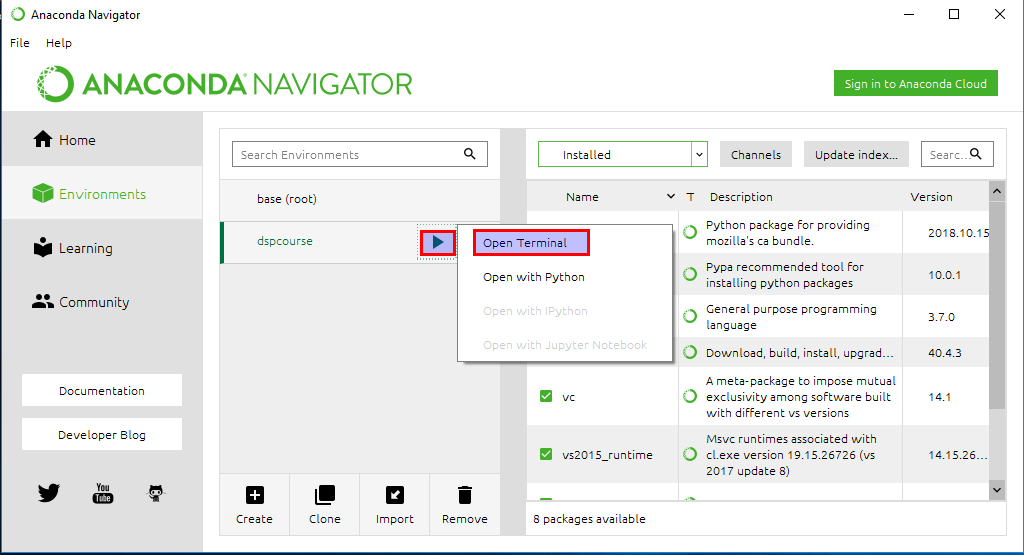
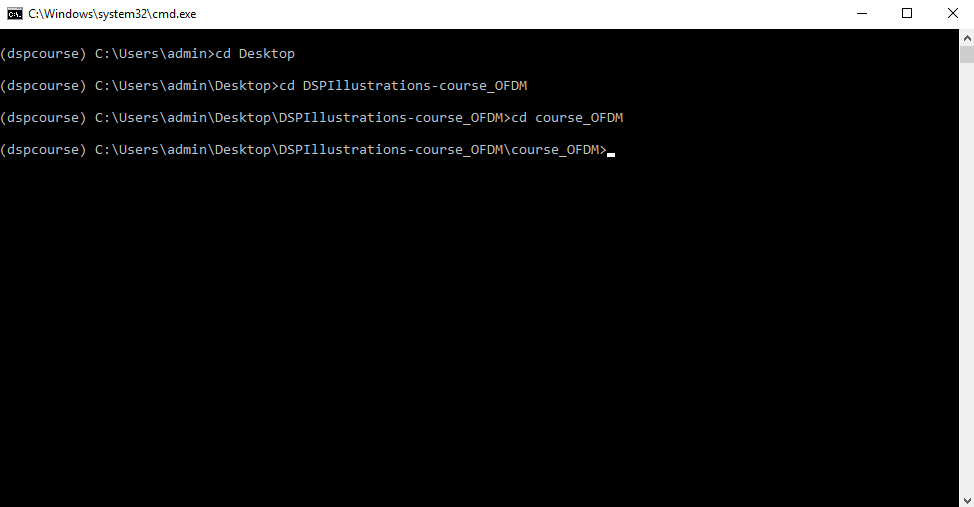
A windows command line terminal starts, indicating(dspcourse)at the prompt, which means that we are currently working in thedspcoursePython environment.In the following we assume that the downloaded course files are extracted to the Windows Desktop. So, in the terminal, using the
cdcommand, navigate to the directory where the files are located. Note that the terminal supports Tab completion, i.e. in the below example, I typedcd De<TAB>to get expanded tocd Desktopautomagically. Navigate into your course subdirectory. Note that the commanddirlists all the contents in the current directory, so it can help you find your way.
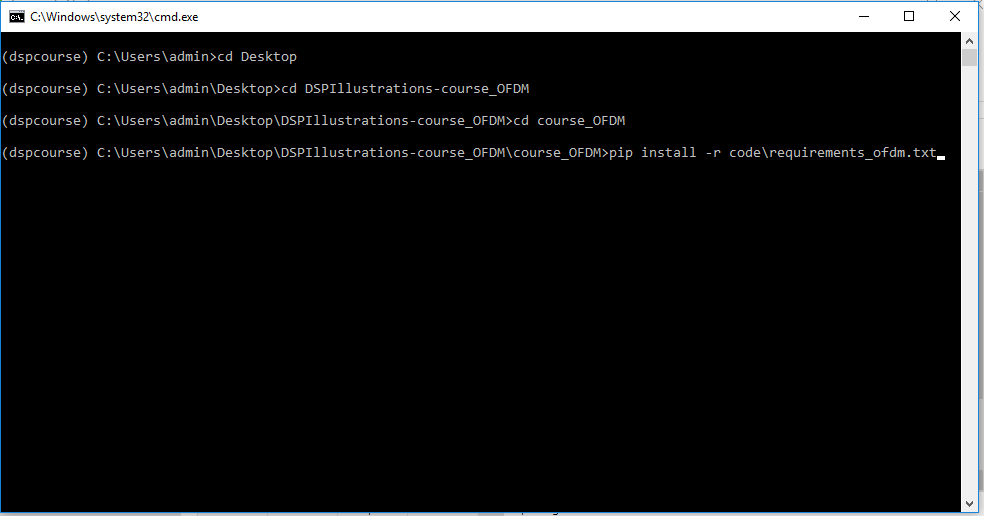
You can now install the required packages for the course. The packages are listed in arequirements.txtfile which is located in thecodesubdirectory of your downloaded files. Run thepipprogram (which is part of Python) to read this file and install all dependencies in it:
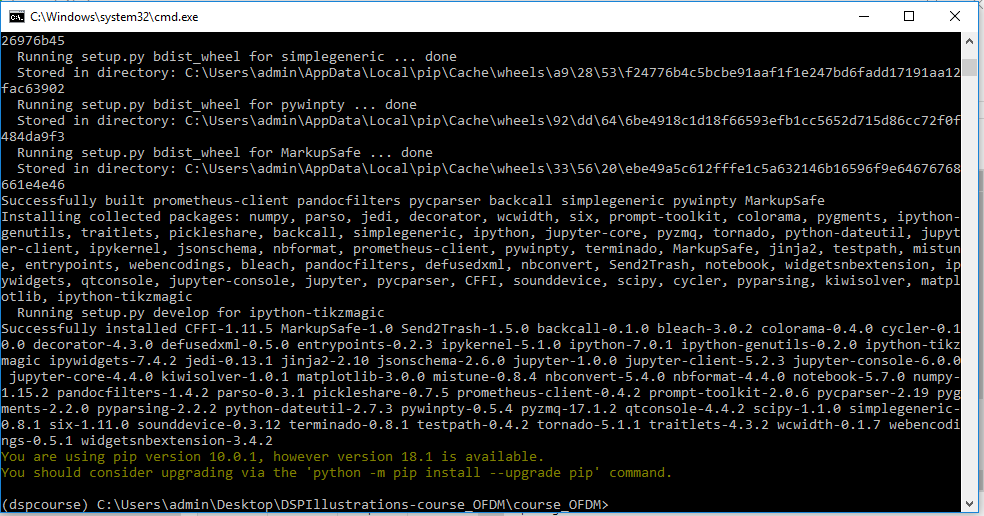
After the command has finished, all necessary packages are installed:
The final step now is to start the Jupyter Notebook by running the commandjupyter notebook:
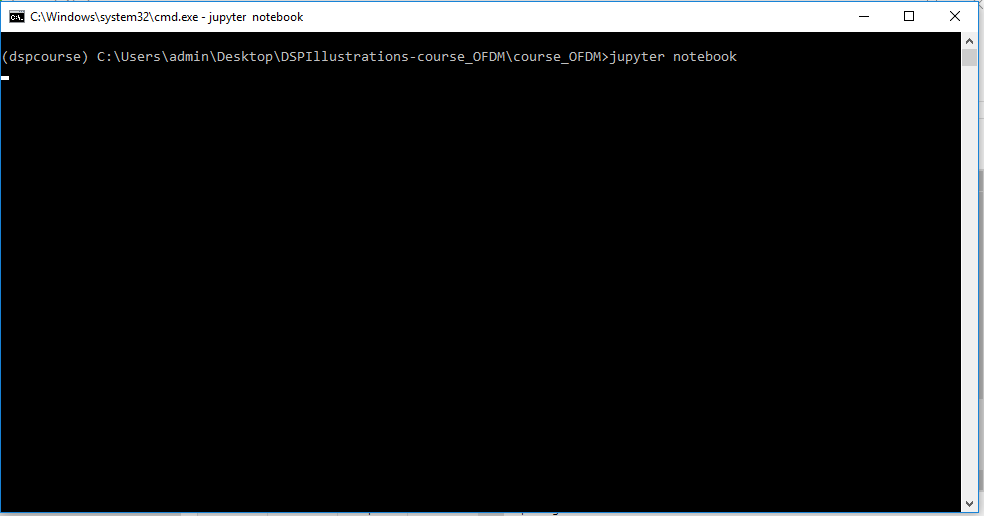
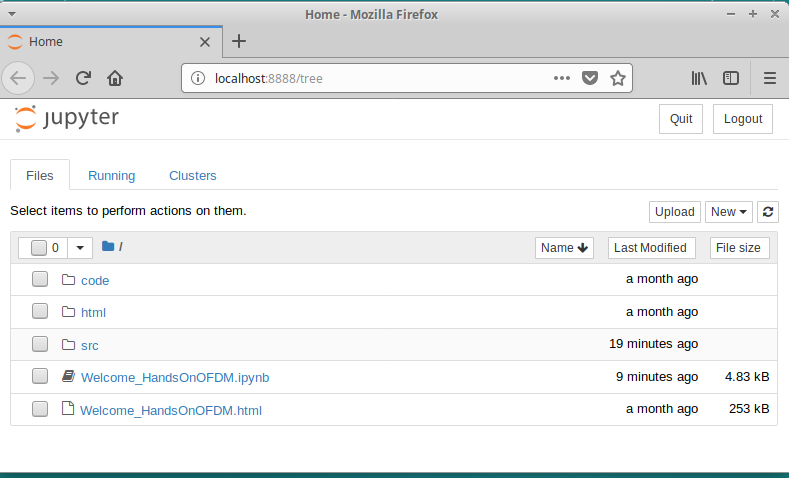
The command starts the Jupyter server and opens a browser window showing the contents of the current directory. Navigate around until you find the Welcome-File for your course and open it.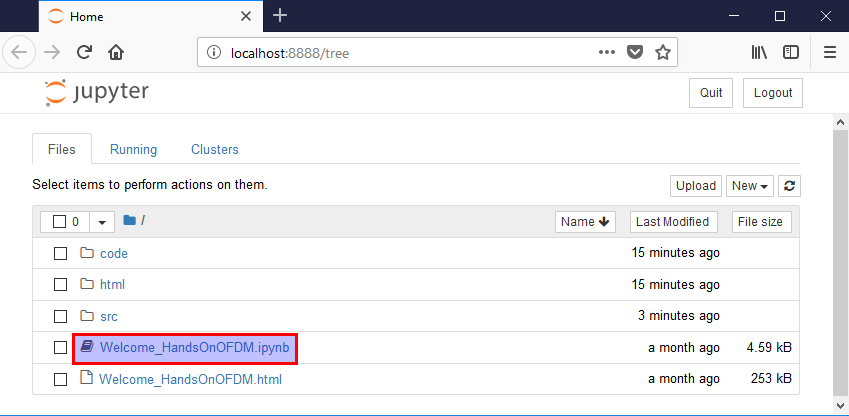
Once you have opened the file, follow the link to the notebook "Setting up the development environment" to check your python installation and get into the actual course contents.
Setting up Latex and Tikzmagic on Windows
The above instructions made you ready to run the Python code of the course. However, if you want to be able to also regenerate the LaTeX figures, you need to install MikTex, ImageMagick and Ghostscript. Note that these steps are purely optional. If you do not install these packages, you will not be able to redraw the latex figures, but still be able to run all the code.
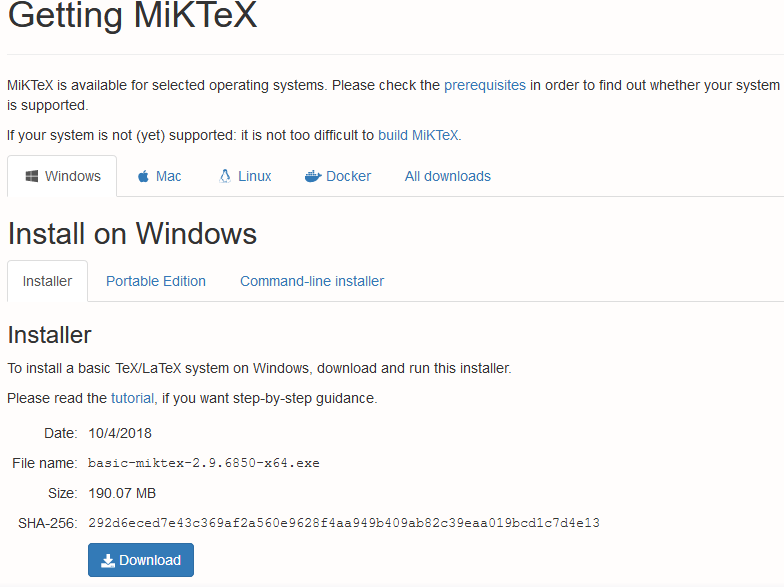
We start by installing MiKTeX. At the time of writing, MikTex 2.9.6850 was out, but any recent version works. After downloading the installer, run it and follow the instructions.
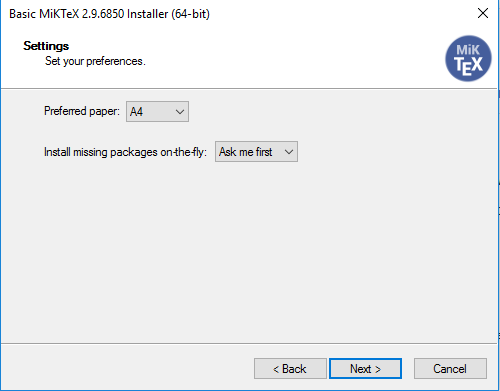
Chooseask me firstat the option "Install missing packages on-the-fly":
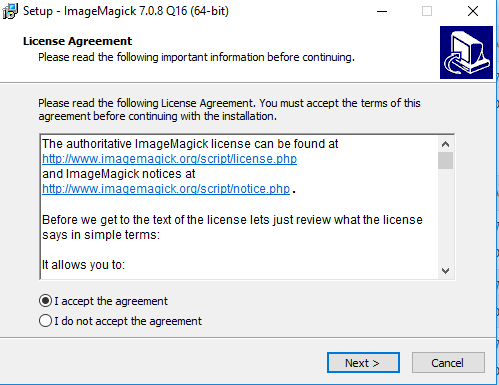
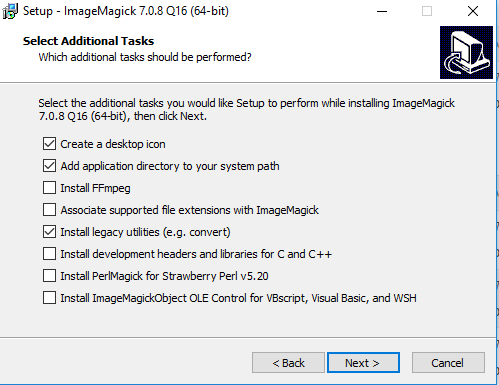
The next step is to install ImageMagick. Download thedll-Version and run the installer:
Make sure you chooseInstall legacy utilities (e.g. convert)in the dialog:
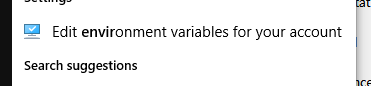
Once ImageMagick is installed, you also need to install GhostScript. Choose the 32bit version, e.g. this link. Run the installer and keep the default options for the installation.As a final step, you need to make the GhostScript binaries available in your PATH: In the Windows start menu, type
environmentand chooseEdit environment variables for your account:
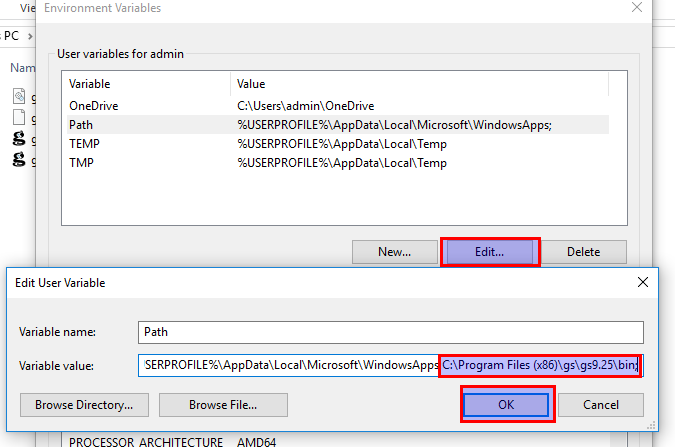
In the dialog, mark thePathvariable and chooseEdit. In the field append the valueC:\Program Files (x86)\gs\gs9.25\binto the field. (Make sure that your installation of GhostScript actually resides in this folder, otherwise adapt your variable settings):
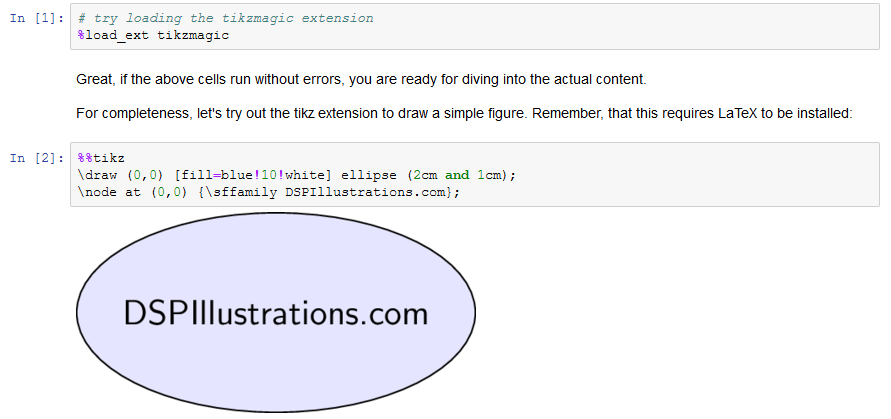
You can now try out the Latex Installation and open the "Setting up the development environment" notebook. Execute the last cells and see, if you can generate the picture:
During the run, MiKTeX will ask you if you want to install missing packages, which you need to confirm:

Finally, the installation should be complete and the tikz picture should be successfully generated:
If there are errors, consult the output of the jupyter notebook console or the output with the notebook.
Setting up the Environment on Ubuntu Linux
We start by downloading the Anaconda Distribution. This course is tested with Anaconda 5.3 containing Python 3.7 64bit. Any 64bit python above 3.3 will be fine running the course.
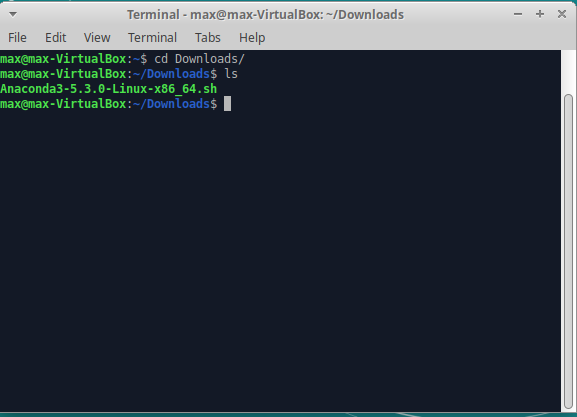
After the file is downloaded, open a Linux terminal and navigate to your downloaded file:
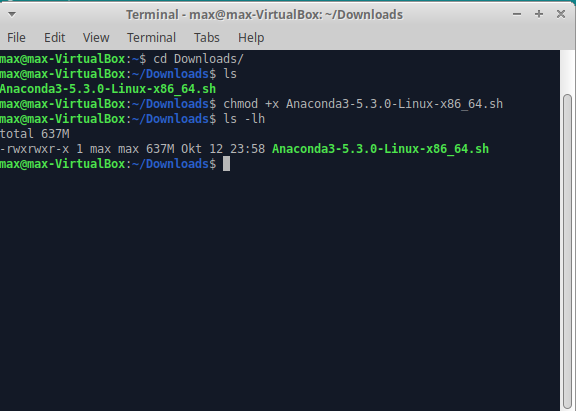
Then, we need to make the setup file executable by issuing chmod +x Anaconda3-5.3.0-linux-x86_64.sh .
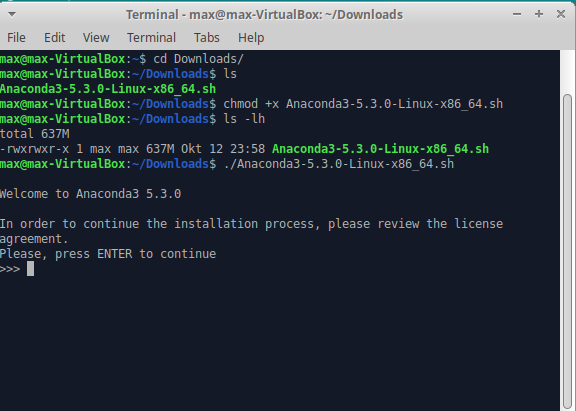
Then, run the installer ./Anaconda3-5.3.0-linux-x86_64.sh .
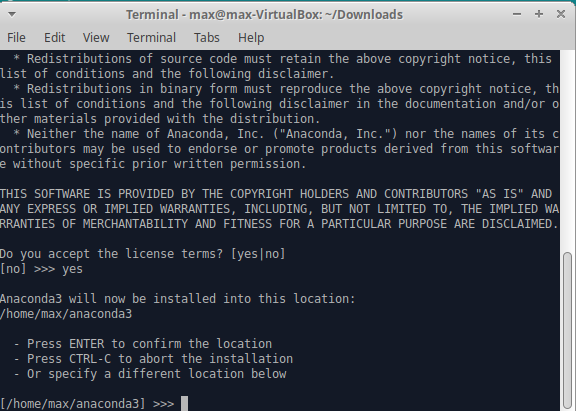
Confirm the installation location or choose another as requested by the setup:
The installer will ask you if you want to integrate Anaconda into bash. This is optional, but usually recommended. So, answer with
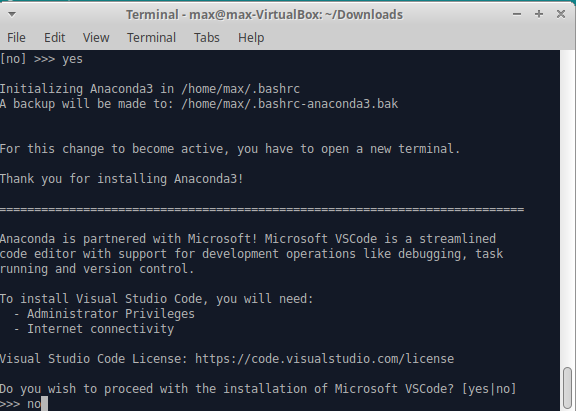
yes.
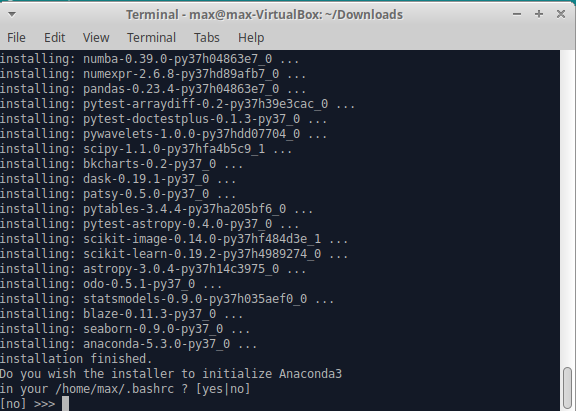
For our purposes we do not need to install Visual Studio Code, which is bundled with Anaconda. So, just answer no at the prompt.
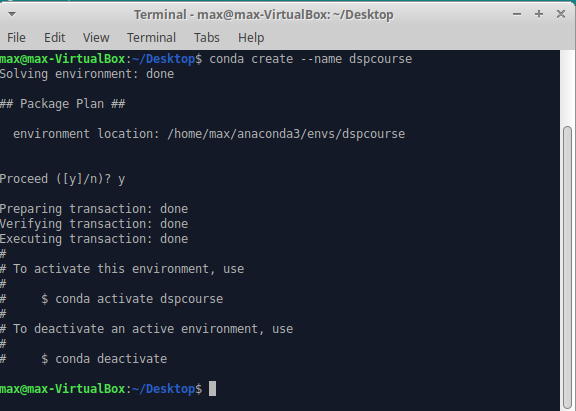
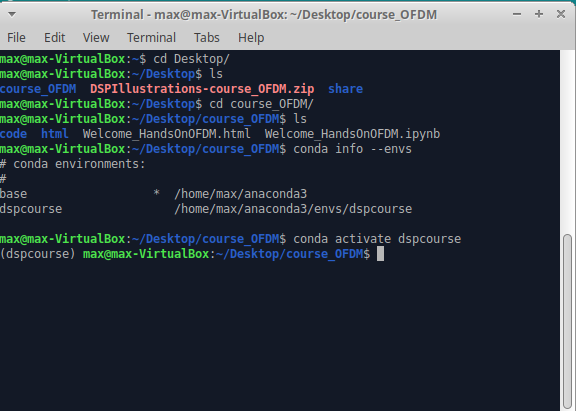
Great! You have now installed Anaconda. The next step is to create a virtual environment for the course. It is usually recommend to use a virtual environment to not run into packet version clashes. So, we create a virtual environment named dspcourse by running the command conda create --name dspcourse:
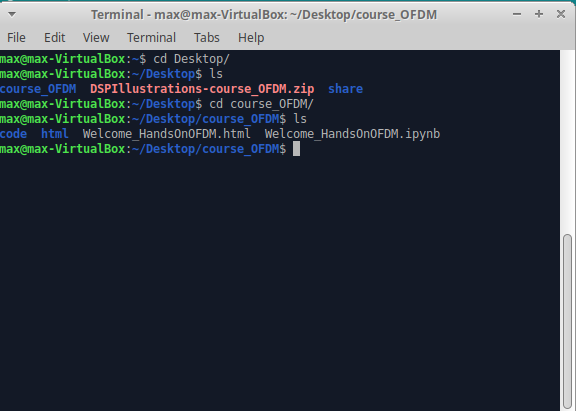
Now, as you have setup the virtual environment, it's time to move into the source code of the course. Using your terminal, navigate into the directory where you extracted the source code:
It's time to activate the virtual environment. If you want, you can list available environments with conda info --envs. Activate the environment with conda activate dspcourse.
We will now install the required python packages. To do this, issue the command pip install code/requirements_ofdm.txt (or, replacing the name of the requirements file with the file that is provided by your course).
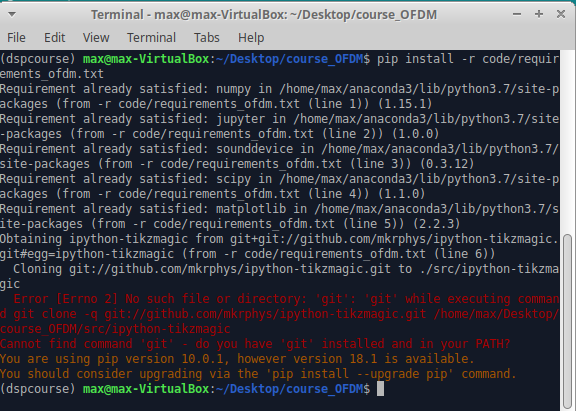
If you experience above error message regarding
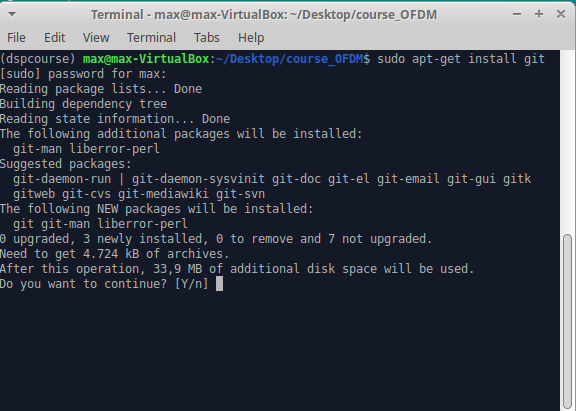
cannot find command: git, you need to install the git version control system. On Ubuntu, you do this via sudo apt-get install git and provide your password:
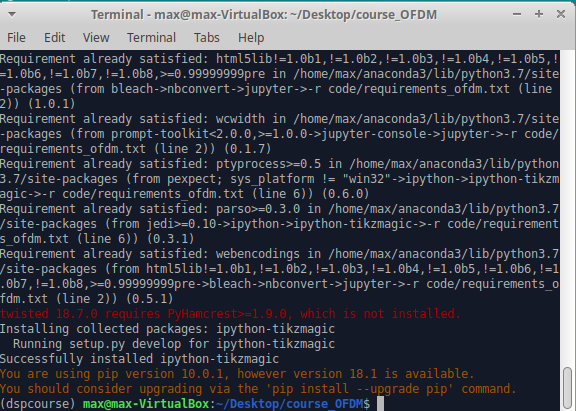
Once git is installed, rerun the command to install the requirements by pip install code/requirements_ofdm.txt. This time, there should be no errors with the installation:
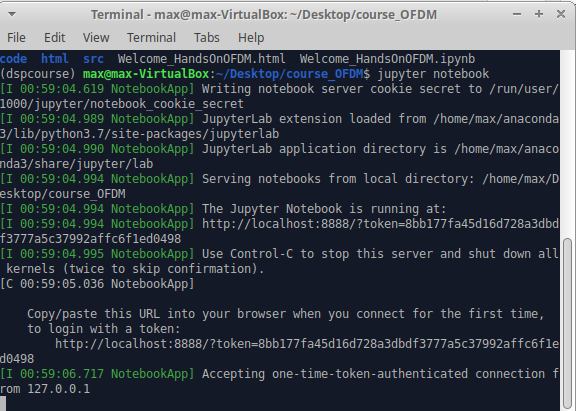
Finally, you are able to start the Jupyter notebook by jupyter notebook. A browser will open, showing you a list of files in the current directory.
You can now either open the introduction notebook, or directly navigate into
code/ipynb to find the actual contents of the course.
Congratulations! You have successfully setup your development environment. The next time you want to work with the course, just open a terminal, navigate to the course root directory and run
conda activate dspcoursejupyter notebook
A note on LaTeX
In addition to the tikzmagic extension (which is installed via pip) you need to have LaTeX installed on your PC to redraw the figures that use tikz. The according ubuntu packages are
apt-get install texlive-latex-extra texlive-latex-picturesapt-get install imagemagick ghostscript- check
/etc/ImageMagick-7/policies.xmland comment out the line<policy domain="coder" rights="none" pattern="PDF" />if it is present (see here)